
How to achieve TikTok's trendy slick back bun
A step-by-step guide plus product recommendations
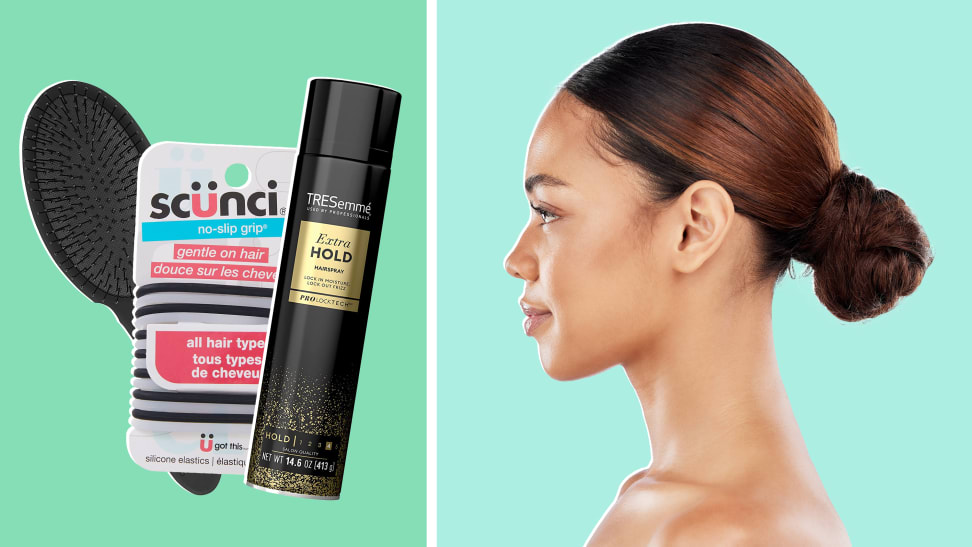 Credit: Reviewed / Wet Brush / Scunci / Tresemme / Getty Images / PeopleImages

Recommendations are independently chosen by Reviewed's editors. Purchases made through the links below may earn us and our publishing partners a commission. Prices were accurate at the time this article was published but may change over time.
If you’ve been on TikTok or perused photos of your favorite celebs on red carpets or in magazines lately, you’ve probably noticed a prominent hair trend: Sleek, slick-backed hairstyles are back in a big way. It’s easy to see why, too: “The slick-back bun is so incredibly versatile, and can be worn anywhere from the red carpet to a casual luncheon,” saysAngus Mitchell, hair stylist and co-owner ofJohn Paul Mitchell Systems. “It can work on a variety of hair types and lengths, too.”
Still, it can be intimidating to try this classic style out without some expert know-how, which is why we tapped both Mitchell and hair stylistAmber Shatzen, owner ofChrome玫瑰萨尔onin Atlanta, to determine the exact step-by-step process—as well as ideal styling products—to achieve the slick back bun of your dreams.
For more beauty, makeup and hair reviews and tips follow us onTikTok @beautorial.
Step 1: Dry your hair

Dry your hair before slicking it back with the BaBylissPro Nano Titanium Dryer.
Your hair is most prone to damage while wet, so it's best to slick it back into a bun while already dry. Eitherblow-dryyour freshly washed hair in preparation for the style or plan to try it on a day when you're in-between washes. If you need a top-notch hair dryer, Reviewed's favorite is theBaBylissPro Nano Titanium Dryerbecause it'll zap water quickly with its multiple heat and airflow settings. If you have very curly or wavy hair, consider using aspray bottleto dampen the top and make it more malleable without soaking the hair.
Step 2: Brush product through your hair
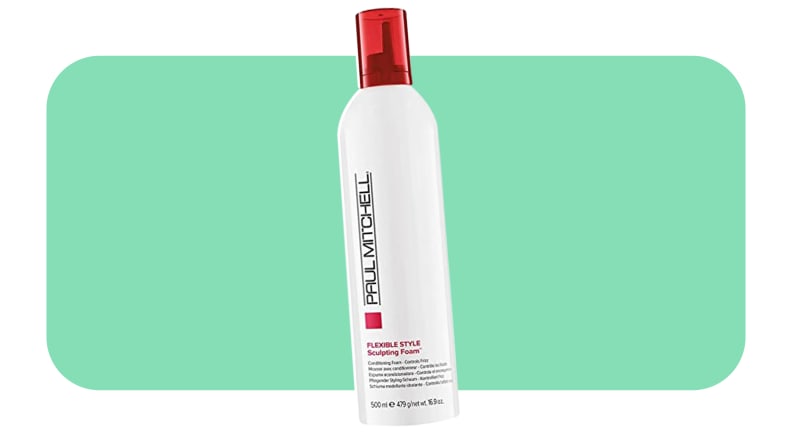
Prep your hair with this foam from Paul Mitchell.
“Always start by brushing your hair out and adding product to achieve that slick look,” says Mitchell. He recommends thePaul Mitchell Sculpting Foamin order to do this, which is a mousse-like product that controls frizz and flyaways, holding the hair down. Evenly distribute throughout the hair, making sure to hit all the pieces from the roots to the ends.
Step 3: Choose a middle or side part

Use the Wet Brush to detangle your hair.
“Once you’ve prepped the hair, the next step is to figure out where you want your hair to lay,” says Shatzen. “I prefer doing a middle part because it looks very chic, but whatever you do, make sure to use a brush that’s specifically designed to detangle hair.” Using a detangling brush will mitigate damage to your hair while you brush it in place. Shatzen personally chooses to use theWet Brush Pro, which she brushes multiple times through hair to make sure it’s straight and slick.
Step 4: Work your ponytail

Twist your hair into a bun using hair ties and Oribe texture spray.
After the hair’s been prepped, combed, and parted, it’s time to create a ponytail that’ll you’ll later be able to twist into the bun style. To do so, you have to first be very mindful of thehair tieyou use: A high-grip, rubber band texture will pull the hair and make it prone to breakage, according to Mitchell. Instead, you want to look for an option that’s softer and stretchier, but will still hold the hair in place, like theScunci No-Slip Grip The Evolution Hair Ties.
To style, brush your hair back into a ponytail positioned at the nape of your neck. Secure with the hair tie to lock it in place, and if it still feels too slippery, add texturizing spray to the top of the ponytail to give the hair some grit. For that, try the highly-ratedOribe Dry Texturizing Spray, which claims to sop up oil and add volume.
Step 5: Secure your bun

Use Goody bobby pins to secure pieces that fall from your bun.
Next, you’ll be able to wrap your ponytail into a bun of your choice—and the best part is that there are no rules. “Here, you can get creative with how you want to wrap the bun: You can twist the hair and then wrap it in a bun, braid the pony and then wrap it around in a bun, or create a teased and messy bun look,” says Shatzen.
To twist the ponytail into shape, wind it around the hair tie and secure it with another ponytail holder once you love the shape. For extra security, you can periodically pin your hair with the "slide-proof"Goody bobby pinsas you're winding it around. At the very least, use bobby pins to secure thinner strands that may fall out of the bun.
Step 6: Tame flyaways

Slick your hair into place with this R+Co gel.
“Once you get to a place you’re happy with, I usually then add in gel or a pomade stick,” says Shatzen. “My favorites for this look are theR+Co Motorcycle Flexible Geland theR+Co Dart Pomade Stick.” If your hair is laying flat at this stage with just a few flyways, the pomade stick should suffice, but the gel may be the better option if your hair looks puffy or frizzy. For either option, apply the product around your hairline and the crown of your head by sweeping a layer on top, combing the hair back using your hands, afine tooth comb, or a brush as you do so.
Step 7: Lock your style in place

Lock your style in place with this Tresemme hair spray.
Now, the hold: After all, there’s no point in spending so much time creating this slick-backed style if it’s going to fall apart the second you leave the house. Holding theTresemme Ultra Hold Hairsprayseveral inches from the scalp, spray your entire head and continue smoothing strands back with your hands, if needed. The spray will keep the style locked in and even glue the most resistant hairs in place for the rest of the day or night.
The product experts atReviewedhave all your shopping needs covered. Follow Reviewed onFacebook,Twitter,Instagram,TikTok, orFlipboardfor the latest deals, product reviews, and more.Prices were accurate at the time this article was published but may change over time.


